Make Your Own Corn Husk Wreath: A Step-by-Step Guide

Jane Cornfield
Make Your Own Corn Husk Wreath: A Step-by-Step Guide
A corn husk wreath is one of the most beautiful and satisfying fall craft projects you can make. It looks like something from a high-end home decor store, but it costs almost nothing and takes just a couple of hours. If you have access to fresh or dried corn husks, you already have the main ingredient. Here is how to make one from start to finish.
What You Will Need
**Materials:**
- 20 to 30 dried corn husks (from about 8 to 10 ears of corn, or one package of tamale husks from the grocery store)
- A wire wreath frame (12 or 14 inches works well for most doors)
- Floral wire or thin gauge craft wire
- Hot glue gun and glue sticks
- Scissors
- A large bowl or basin for soaking
**Optional embellishments:**
- Dried mini corn ears
- Raffia or burlap ribbon
- Cinnamon sticks
- Small pine cones
- Dried berries or berry picks
Step 1: Prepare Your Husks
If you are using husks from fresh corn, pull them off the ears and spread them out in a single layer on newspaper or a baking rack. Let them dry completely -- this takes three to five days in a warm, dry room. Already-dry husks from the store are ready to go.
Before crafting, soak all your husks in warm water for twenty to thirty minutes. This makes them pliable and prevents cracking. They will be much easier to fold, twist, and shape. Pat them gently with a towel to remove excess water, but keep them damp as you work.
Step 2: Cut and Sort
Tear or cut your husks into strips roughly one and a half to two inches wide and six to eight inches long. Do not worry about making them perfectly uniform -- slight variation adds to the organic, natural look. Sort them into three piles: lighter inner husks, medium-toned husks, and darker outer husks. You will mix these as you go for depth and visual interest.
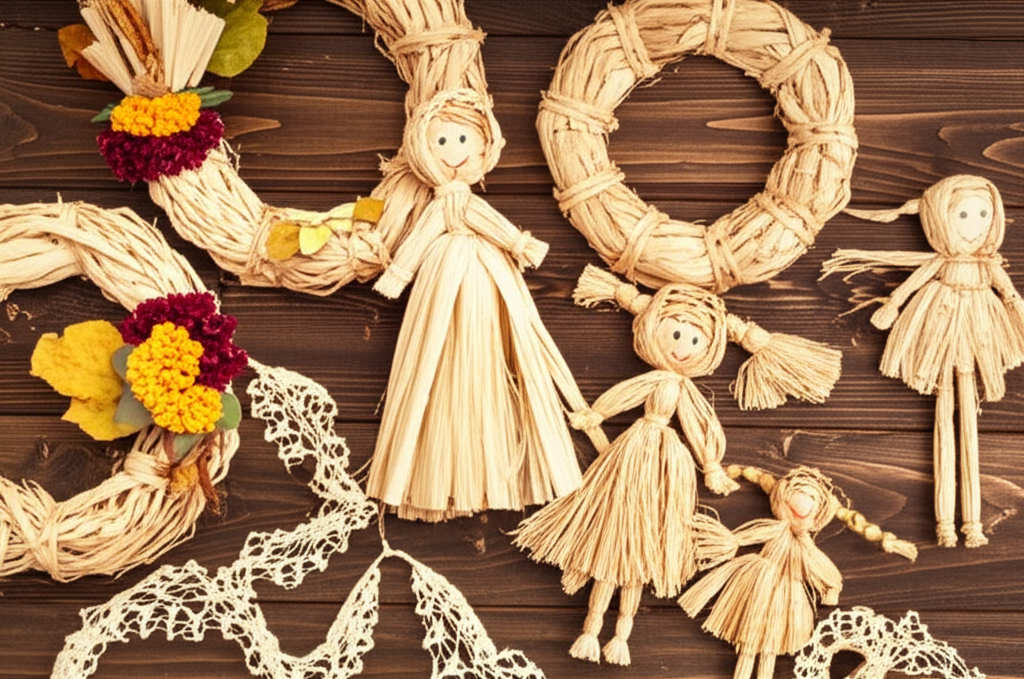
Step 3: Create Husk Loops
This is the technique that gives the wreath its full, lush appearance. Take one strip and fold it in half to create a loop, with both ends meeting. Pinch the ends together and secure with a small piece of floral wire, twisting it tightly. Each loop should be about two to three inches tall. Make fifty to sixty of these loops -- it sounds like a lot, but they go quickly once you get a rhythm going.
Step 4: Attach Loops to the Frame
Starting on the inner ring of your wreath frame, wire or hot glue the loops with the folded side facing outward. Work your way around the inner ring first, then the outer ring, and finally fill in the middle. Overlap the loops so no wire frame shows through. Push them close together for a full, voluminous look.
As you place the loops, alternate between your light, medium, and dark husks. This creates subtle tonal variation that makes the wreath look richer and more natural. Step back every so often to check for bare spots and fill them in.
Step 5: Add Accent Pieces
Once the base is fully covered, create three to five accent flowers or rosettes for focal points. To make a rosette, take a long strip of damp husk and roll it tightly from one end, folding and flaring the husk outward as you go, like peeling a rose in reverse. Secure the base with hot glue. These rosettes add dimension and draw the eye.
Place your rosettes in a cluster on one side of the wreath rather than spacing them evenly around -- asymmetry looks more natural and elegant. Hot glue them directly onto the husk loops.
Step 6: Embellish
Now add any optional embellishments. Tuck cinnamon sticks into the cluster near your rosettes. Wire small dried corn ears in place. Add a raffia bow. A few small pine cones nestled among the husks add lovely texture contrast. Whatever you add, keep it clustered in one area rather than scattering it around the entire wreath.
Step 7: Finishing Touches
Let the wreath dry completely -- at least overnight, preferably twenty-four hours. As the husks dry, they will stiffen and hold their shape permanently. If any loops have shifted or flattened during the drying process, gently reshape them.
For extra durability, spray the finished wreath with a light coat of clear acrylic sealer. This protects the husks from moisture and extends the life of the wreath. Without sealant, a corn husk wreath typically lasts one full season. With sealant, it can last two to three years.
Step 8: Hang and Enjoy
Attach a loop of wire to the back of the frame for hanging. Avoid placing the wreath in direct rain -- a covered porch or a spot under an awning is ideal for outdoor display. Indoors, it works beautifully on a front door, above a mantel, or as a wall accent in a kitchen or dining room.
The entire project costs less than ten dollars if you grow your own corn, and the result looks like something you would pay sixty or seventy dollars for at a craft market. More importantly, it is made by your own hands from a natural material, and it will remind you of the harvest season every time you walk through the door.
Jane Cornfield
Head of Content
Jane has been writing about sustainable agriculture for over 10 years.